DIY stained glass sets the stage for a captivating journey into the art of creating stunning, luminous pieces. This craft, with roots dating back centuries, allows you to transform ordinary glass into extraordinary works of art. Whether you’re drawn to the intricate designs of traditional stained glass windows or the modern, abstract forms, DIY stained glass offers a fulfilling creative outlet.
This guide delves into the fascinating world of DIY stained glass, providing a comprehensive overview of the materials, techniques, and design principles involved. From understanding the basic tools and safety precautions to exploring different cutting and shaping methods, we’ll equip you with the knowledge and confidence to embark on your own stained glass adventures.
Introduction to DIY Stained Glass
Stained glass, with its captivating beauty and rich history, has adorned churches, castles, and homes for centuries. From the intricate medieval windows of Europe to the vibrant Art Nouveau designs of the early 20th century, stained glass has captivated artists and admirers alike. The enduring appeal of stained glass lies in its ability to transform light into a mesmerizing spectacle of color and pattern.
The allure of DIY stained glass projects lies in the accessibility of the craft and the creative freedom it offers. With basic materials and a little patience, anyone can create stunning works of art that add a touch of elegance and personality to their surroundings. DIY stained glass allows you to express your unique style and create pieces that reflect your personal taste.
The Fundamentals of Stained Glass Design and Construction
Stained glass design and construction involve a fascinating interplay of artistry and technical skill. Understanding the basic principles of this craft is essential for successful DIY projects.
Stained Glass Design
Stained glass design involves the careful arrangement of colored glass pieces to create a desired pattern or image. The design process typically begins with a sketch or blueprint, which Artikels the overall composition and the placement of individual pieces. Artists often use a variety of tools, such as pencils, rulers, and compasses, to create their designs.
Stained Glass Construction
Stained glass construction involves cutting, shaping, and assembling the individual glass pieces to create the final design. The most common method of construction involves using a technique called “copper foil” where strips of copper foil are wrapped around the edges of the glass pieces. The copper foil is then soldered together to create a strong and durable bond.
Soldering is a process that involves melting solder, a metal alloy, to join the copper foil strips. A soldering iron is used to heat the solder, which melts and flows into the gaps between the copper foil strips. Once the solder has cooled and solidified, it forms a strong and water-resistant bond.
Materials and Tools
Before embarking on your stained glass journey, it’s crucial to gather the essential materials and tools. Understanding their purpose and proper handling techniques will ensure a safe and successful creative process.
Glass
Stained glass projects come to life with a wide variety of glass types, each possessing unique characteristics that contribute to the overall aesthetic.
- Clear Glass: This versatile glass serves as the foundation for many stained glass projects, offering a transparent canvas for intricate designs and vibrant colors.
- Opaque Glass: As the name suggests, opaque glass offers a solid, non-transparent surface, ideal for creating bold patterns and shapes. It’s often used in combination with clear glass to achieve depth and contrast.
- Iridescent Glass: Iridescent glass boasts a mesmerizing play of colors, achieved through a thin layer of metallic oxides applied to its surface. This glass adds a touch of magic and sophistication to stained glass projects.
- Streaky Glass: This unique glass type features subtle or dramatic streaks of color running through its body, creating a dynamic and captivating visual effect.
- Textured Glass: Textured glass offers a variety of surface textures, adding depth and visual interest to stained glass projects. It can range from subtle ripples to bold patterns, creating a tactile and aesthetic experience.
Solder
Solder acts as the glue that holds stained glass pieces together, creating strong and durable bonds.
- Lead Solder: The most common type of solder used in stained glass, lead solder is known for its low melting point and ease of use. It offers a strong bond and a traditional, classic look.
- Tin Solder: While less common than lead solder, tin solder is a lead-free alternative that is considered safer for indoor projects. It offers a slightly higher melting point and a slightly different appearance.
Flux
Flux is a vital component in the soldering process, acting as a cleaning agent and facilitating a strong bond between the solder and the glass.
- Liquid Flux: Applied directly to the glass edges before soldering, liquid flux cleanses the surface and promotes a smooth, even flow of solder.
- Paste Flux: This type of flux is applied to the glass edges and then allowed to dry before soldering. It provides a longer-lasting cleaning effect and can be more convenient for certain projects.
Adhesives
Adhesives play a crucial role in securing stained glass pieces to various surfaces, such as windows, frames, and other decorative elements.
- Epoxy Resin: Epoxy resin is a strong and durable adhesive commonly used for attaching stained glass to surfaces. It offers a long-lasting bond and a clear, transparent finish.
- Silicone Sealant: Silicone sealant is a flexible and water-resistant adhesive, ideal for securing stained glass to surfaces that may experience movement or exposure to moisture.
Tools
The right tools are essential for precise cutting, shaping, and assembling stained glass pieces.
- Glass Cutter: This tool is used to score glass, creating a controlled fracture that allows for precise cuts.
- Running Pliers: Running pliers are used to break the scored glass along the desired line, ensuring a clean and accurate cut.
- Grozing Pliers: Grozing pliers are essential for smoothing and shaping glass edges, ensuring a safe and professional finish.
- Soldering Iron: A soldering iron is used to melt solder, creating strong and durable bonds between stained glass pieces.
- Solder Wick: A solder wick is used to remove excess solder and clean up soldering joints, creating a polished and professional finish.
- Safety Glasses: Safety glasses are crucial for protecting your eyes from flying glass shards and hot solder.
- Gloves: Gloves provide a protective barrier for your hands when handling sharp glass and hot soldering tools.
- Work Surface: A sturdy and stable work surface is essential for safely and accurately cutting and assembling stained glass pieces.
Safety Precautions
Safety is paramount when working with stained glass.
- Wear safety glasses and gloves at all times to protect your eyes and hands from potential hazards.
- Work in a well-ventilated area to avoid inhaling fumes from solder and flux.
- Use a stable and sturdy work surface to prevent accidents and ensure accurate cuts.
- Keep soldering irons and other hot tools away from flammable materials to prevent fires.
- Handle glass with care, avoiding sharp edges and potential cuts.
- Store tools and materials safely when not in use to prevent accidents and ensure their longevity.
Design and Pattern Creation
Designing the stained glass pattern is a crucial step in the process. This is where you translate your vision into a workable plan, considering factors like color, light, and structure.
Freehand Sketching
Freehand sketching allows for maximum creative freedom. It’s a great way to experiment with different shapes, lines, and arrangements without the constraints of templates. You can capture spontaneous ideas and explore unique designs.
Using Templates
Templates provide a more structured approach to design. They can be useful for creating intricate patterns, repeating motifs, or replicating existing designs. You can find pre-made templates or create your own using software or tracing techniques.
Adapting Existing Designs
You can adapt existing stained glass designs, incorporating elements from different sources to create a unique pattern. This can be a great way to learn from others and gain inspiration.
Color Combinations
Color is a key element in stained glass design. Consider the following factors:
- Light transmission: Different colors transmit light differently. For example, red glass absorbs more light than blue glass. This affects the overall mood and ambiance of the piece.
- Color harmony: Create visually appealing color combinations using principles of color theory. For example, use complementary colors (red and green) for a vibrant contrast or analogous colors (blue and green) for a more harmonious effect.
- Color symbolism: Different colors have symbolic meanings. Consider the intended meaning of your piece when choosing colors.
Light Effects
Light plays a vital role in stained glass.
- Direct light: Consider the direction of light sources (sunlight, artificial light) and how they will interact with the glass.
- Light refraction: The way light bends through the glass creates interesting patterns and effects. Experiment with different angles and shapes to achieve desired results.
- Color gradients: Use different shades of the same color to create depth and dimension. For example, a gradient of blues from dark to light can evoke a sense of sky or water.
Overall Composition
The overall composition of your design is essential for creating a visually appealing and balanced piece.
- Balance: Ensure the design is balanced visually, with no one area dominating the others. This can be achieved by using symmetry, asymmetry, or a combination of both.
- Focal point: Create a focal point to draw the viewer’s attention. This can be achieved by using a larger piece of glass, a contrasting color, or a unique shape.
- Rhythm and repetition: Use repeating patterns or motifs to create a sense of rhythm and movement within the design.
Tips for Creating Visually Appealing and Structurally Sound Patterns
- Keep it simple: Start with simple designs and gradually increase complexity as you gain experience.
- Use a grid: A grid can help you create balanced and symmetrical patterns. It can also help with accurate scaling and proportion.
- Consider the weight of the glass: Heavier glass requires stronger support. Design your pattern accordingly, incorporating structural elements like lead came to distribute weight evenly.
- Think about the frame: The frame should complement the design and provide a secure support for the glass. Consider the size, shape, and material of the frame.
Cutting and Shaping Glass
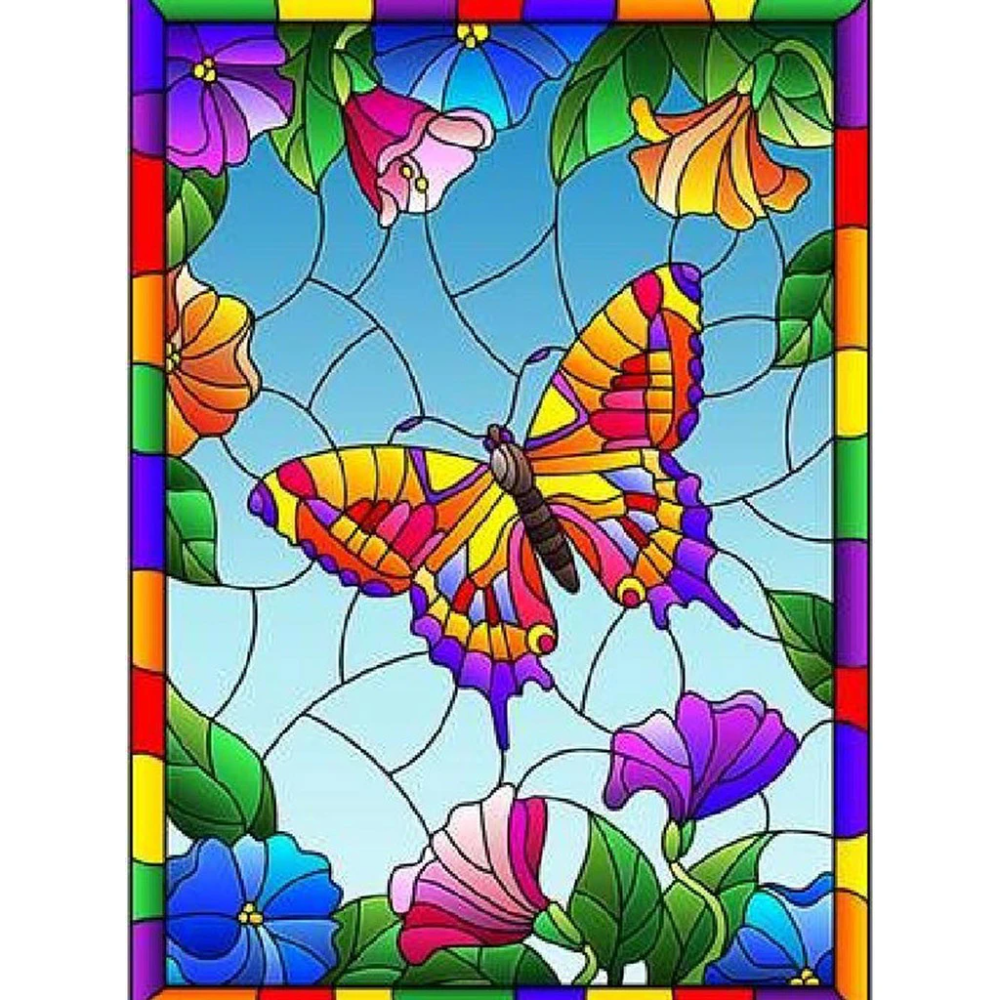
Now that you have your design and materials, it’s time to get your hands dirty! Cutting and shaping glass is a crucial part of the stained glass process, requiring precision and a steady hand. This section will guide you through the techniques and tools needed to transform your glass sheets into the intricate pieces that will make up your final masterpiece.
Cutting Glass with a Glass Cutter
Cutting glass involves scoring the surface with a glass cutter to create a clean, controlled fracture. This technique requires a steady hand and careful application of pressure.
- Understanding the Glass Cutter: A glass cutter consists of a hardened steel wheel housed in a metal frame. The wheel is coated with oil or a lubricant to reduce friction and ensure a smooth cut.
- Scoring the Glass: Place the glass on a flat, stable surface like a cutting mat or a piece of plywood. Position the glass cutter at the desired cutting line, ensuring it’s perpendicular to the glass surface. Apply firm, even pressure to the cutter, drawing a single, continuous line across the glass. Avoid lifting the cutter or pressing too hard, as this can cause the score to be uneven or too deep.
- Breaking the Glass: Once you’ve scored the glass, you need to break it along the score line. This can be done by placing the scored line over the edge of a flat surface and gently applying downward pressure. Alternatively, you can use a pair of pliers to grasp the glass on either side of the score line and gently snap it.
Shaping Glass Pieces
After cutting the glass into basic shapes, you may need to further refine the edges or create more intricate forms. Here are some tools and techniques commonly used for shaping glass:
- Grozing Pliers: Grozing pliers are specialized pliers with serrated jaws designed to grip and shape glass edges. They are used to smooth rough edges, create curves, or remove small pieces of glass.
- Grinding Wheels: Grinding wheels, powered by a grinder or drill, are used to shape and smooth glass edges. They are available in various grits, with finer grits producing a smoother finish.
- Sandpaper: Sandpaper can be used to refine the edges of glass pieces, removing any sharp points or burrs. Use progressively finer grits of sandpaper to achieve a smooth, polished finish.
Creating Different Shapes and Sizes
The possibilities for shaping glass are endless, limited only by your creativity and the tools you have available.
- Straight Lines: Cutting straight lines is the most basic technique. Score the glass along the desired line and break it along the score line.
- Circles: Use a compass or a circular template to trace the desired circle on the glass. Score the glass along the circle line and break it along the score line.
- Curves: Score the glass along the desired curve, following a template or freehand. Break the glass along the score line, using a gentle rocking motion to ensure a smooth curve.
- Irregular Shapes: For more complex shapes, use a template or freehand to draw the Artikel on the glass. Score the glass along the Artikel and break it along the score line.
Assembling and Soldering: Diy Stained Glass
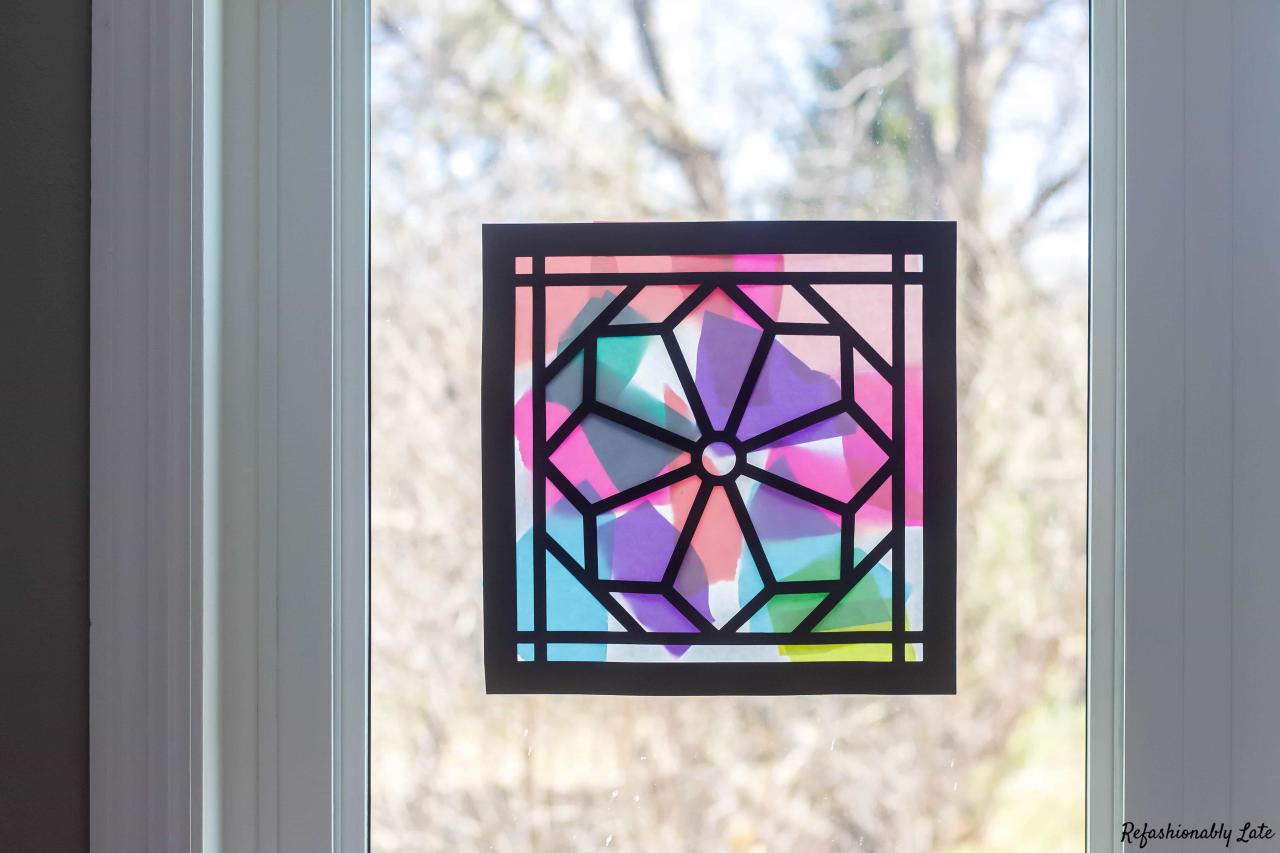
Now that you have your glass pieces cut and shaped, it’s time to assemble them into your design! This is where the magic of stained glass truly comes to life. You’ll be using copper foil tape and soldering techniques to create strong and durable joints, bringing your design to life.
Copper Foil Tape Application
Copper foil tape is the adhesive that holds your glass pieces together. It is a thin, flexible tape coated with a layer of copper. This tape is essential for creating a strong bond between your glass pieces and provides a surface for soldering.
- Clean the Glass: Before applying the copper foil tape, make sure your glass pieces are clean and free of any dust or debris. This ensures a strong bond between the tape and the glass.
- Apply the Tape: Carefully wrap the copper foil tape around the edges of your glass pieces, ensuring that the tape is smooth and free of wrinkles. Use a burnishing tool to press the tape firmly against the glass, creating a tight seal.
- Overlapping: When joining two pieces of glass, overlap the copper foil tape by at least 1/4 inch to ensure a strong connection.
- Corners: For corners, carefully fold the tape over itself, ensuring a tight seal.
Soldering
Soldering is the process of joining two pieces of metal using a filler metal (solder) that melts at a lower temperature than the metals being joined. Solder flows into the joint, creating a strong bond between the glass pieces.
- Flux: Before soldering, apply flux to the copper foil tape. Flux is a chemical paste that helps to clean the copper and allows the solder to flow smoothly.
- Soldering Iron: Use a soldering iron that is heated to the correct temperature for your solder.
- Solder: Feed the solder into the joint, allowing it to flow evenly along the copper foil tape.
- Cooling: Allow the solder to cool completely before moving the piece.
Tips for Clean Solder Lines, Diy stained glass
- Clean the Flux: After soldering, clean any excess flux with a damp cloth. Flux can cause the solder to appear cloudy.
- Solder Evenly: Ensure the solder flows evenly along the copper foil tape. Avoid using too much solder, as this can create a messy appearance.
- Consistent Temperature: Maintain a consistent temperature on your soldering iron to ensure a smooth flow of solder.
- Practice: The best way to achieve clean solder lines is to practice. Start with simple projects and gradually work your way up to more complex designs.
Finishing Touches
Your stained glass project is complete, but the final steps are crucial to ensure its lasting beauty and brilliance. Finishing touches encompass cleaning, polishing, and enhancing the glass to create a truly captivating piece.
Cleaning and Polishing
Cleaning and polishing are essential to remove any residue from the soldering process and enhance the shine of the glass.
- Vinegar and Water Solution: A mixture of equal parts white vinegar and water is a safe and effective cleaning solution. Soak a soft cloth in the solution and gently wipe away any flux residue or dirt.
- Steel Wool: Fine-grade steel wool can be used to remove stubborn flux residue. Use a gentle circular motion to avoid scratching the glass.
- Polishing Compound: For a high-gloss finish, use a polishing compound designed for glass. Apply a small amount to a soft cloth and rub gently in a circular motion.
Applying Patinas
Patinas are chemical solutions that create a colored oxide layer on the surface of the glass, adding depth and dimension.
- Copper Patina: This patina creates a rich, green-blue hue, often used to enhance copper foil accents.
- Silver Patina: This patina produces a cool, silver-gray finish, ideal for adding a subtle, antique effect.
- Black Patina: This patina creates a deep, black finish, often used to enhance the contrast of stained glass designs.
Apply patinas according to the manufacturer’s instructions. Be sure to wear gloves and work in a well-ventilated area. Patinas can be applied to individual pieces or the entire project.
Mounting and Displaying
Once the stained glass project is cleaned and finished, it’s time to choose a suitable method for mounting and displaying it.
- Hanging: For larger pieces, hanging is a common method. Use strong wire or a hanging system designed for stained glass.
- Standing: Smaller pieces can be displayed on a stand or easel.
- Framing: Framing provides protection and enhances the presentation of stained glass. Choose a frame that complements the style and color of the piece.
Closing Notes
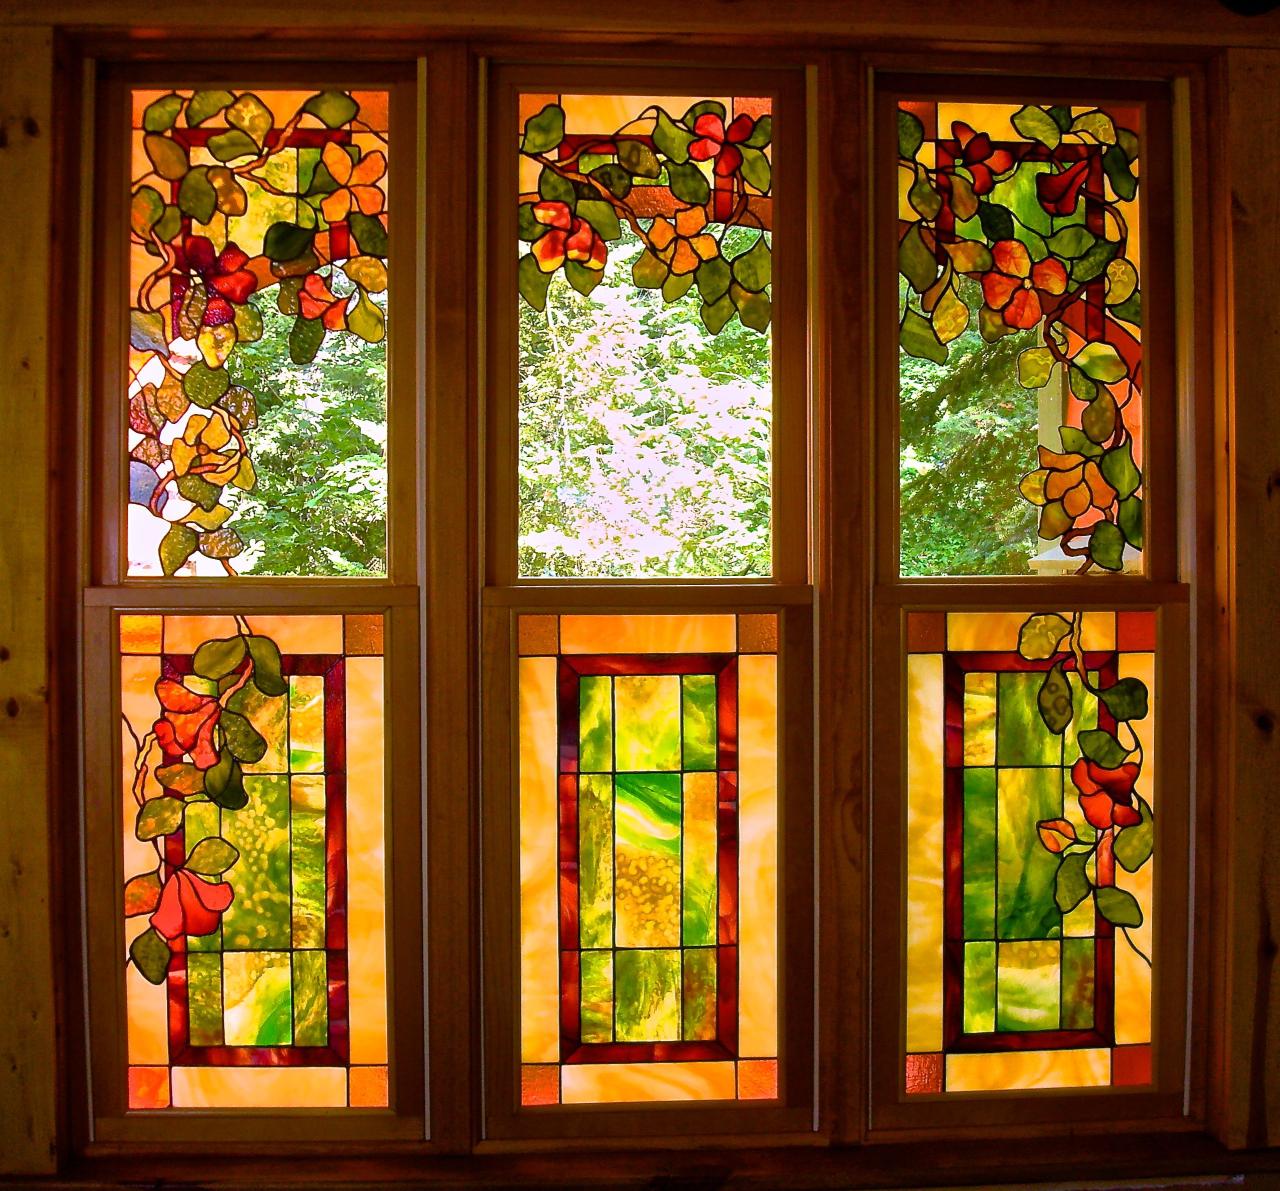
With a little patience, practice, and a touch of artistic flair, you can create captivating stained glass pieces that will illuminate your home and showcase your unique creativity. The beauty of DIY stained glass lies in its versatility, allowing you to express your individual style through intricate patterns, vibrant colors, and innovative designs. So, gather your materials, embrace the creative process, and let your imagination soar as you transform glass into a radiant work of art.
DIY stained glass is a beautiful and rewarding craft, but it can be challenging to find the perfect frame for your finished piece. If you’re looking for a way to showcase your work, consider venturing into the world of woodworking project ideas, like building a custom frame.
You can create a frame that perfectly complements the colors and design of your stained glass, adding another layer of artistry to your project.

